
I tried something new in class today and it turned out well! I combined an Annotation Activity I read about on the ComprehensibleClassroom.com website and another activity I had read about called Cutting Up Text Evidence on Senora Jota Jota’s website. The kids understood this was new for me and they were game to give it a try and to help me write the instructions for it!
Why do it at all? As my lovely 16-year-old son said, when I told him about it, “Mom, you should call it “A Horrible Assignment that Doesn’t Help Your Learning at All.” Well, there is a reason for it! This activity has them reading the same article multiple times but looking for different information each time. It also helps them learn how to visualize information. When I read a story, I can “see” it in my mind, but many students can’t. They don’t “see” anything in their head except for words. And, it’s more engaging than having them fill out a worksheet.
Step 1: Go over the reading with the students. I like to use a PPT with images to help them “see” it, pausing to ask questions where it seems appropriate and checking for understanding. I created a PPT that looks like a book that is flipping pages. You can see it here on TPT
Step 2: Hand out the reading and the annotation guide. The guide can also be displayed on the whiteboard. I have about 10 laminated copies that I keep on hand. I collaborated with the English department at my school, and he suggested that the students have 1-2 annotations per paragraph and with a good mix. There can be duplicates, of course, but not an overwhelming number of one specific annotation. You view the free annotation guide here. Thanks to Mr. Brisco for helping me!
Step 3: On a Google Doc (Slides didn't give enough room) have the students find the page with the annotation symbol on it and write down their annotation. For the “I Have a Question” annotation, they should write their question. If a student has the same annotation, they can write their name next to it. Click here for the free Google Docs (it will make a copy in your Google Drive)
Step 4: Go over the annotations and questions on the slide making sure everything is clear to the students and answering questions.
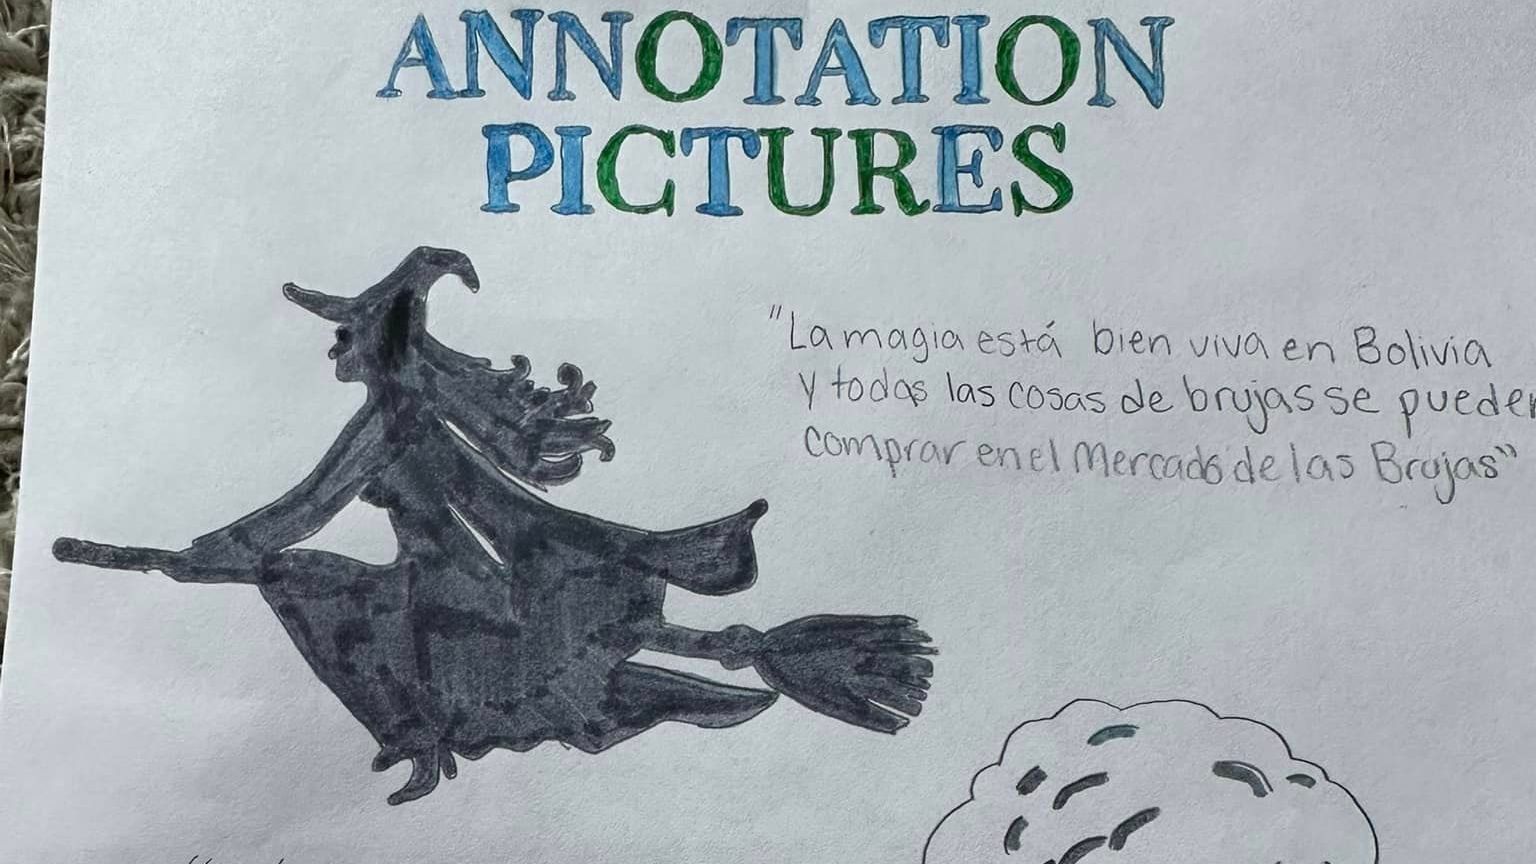
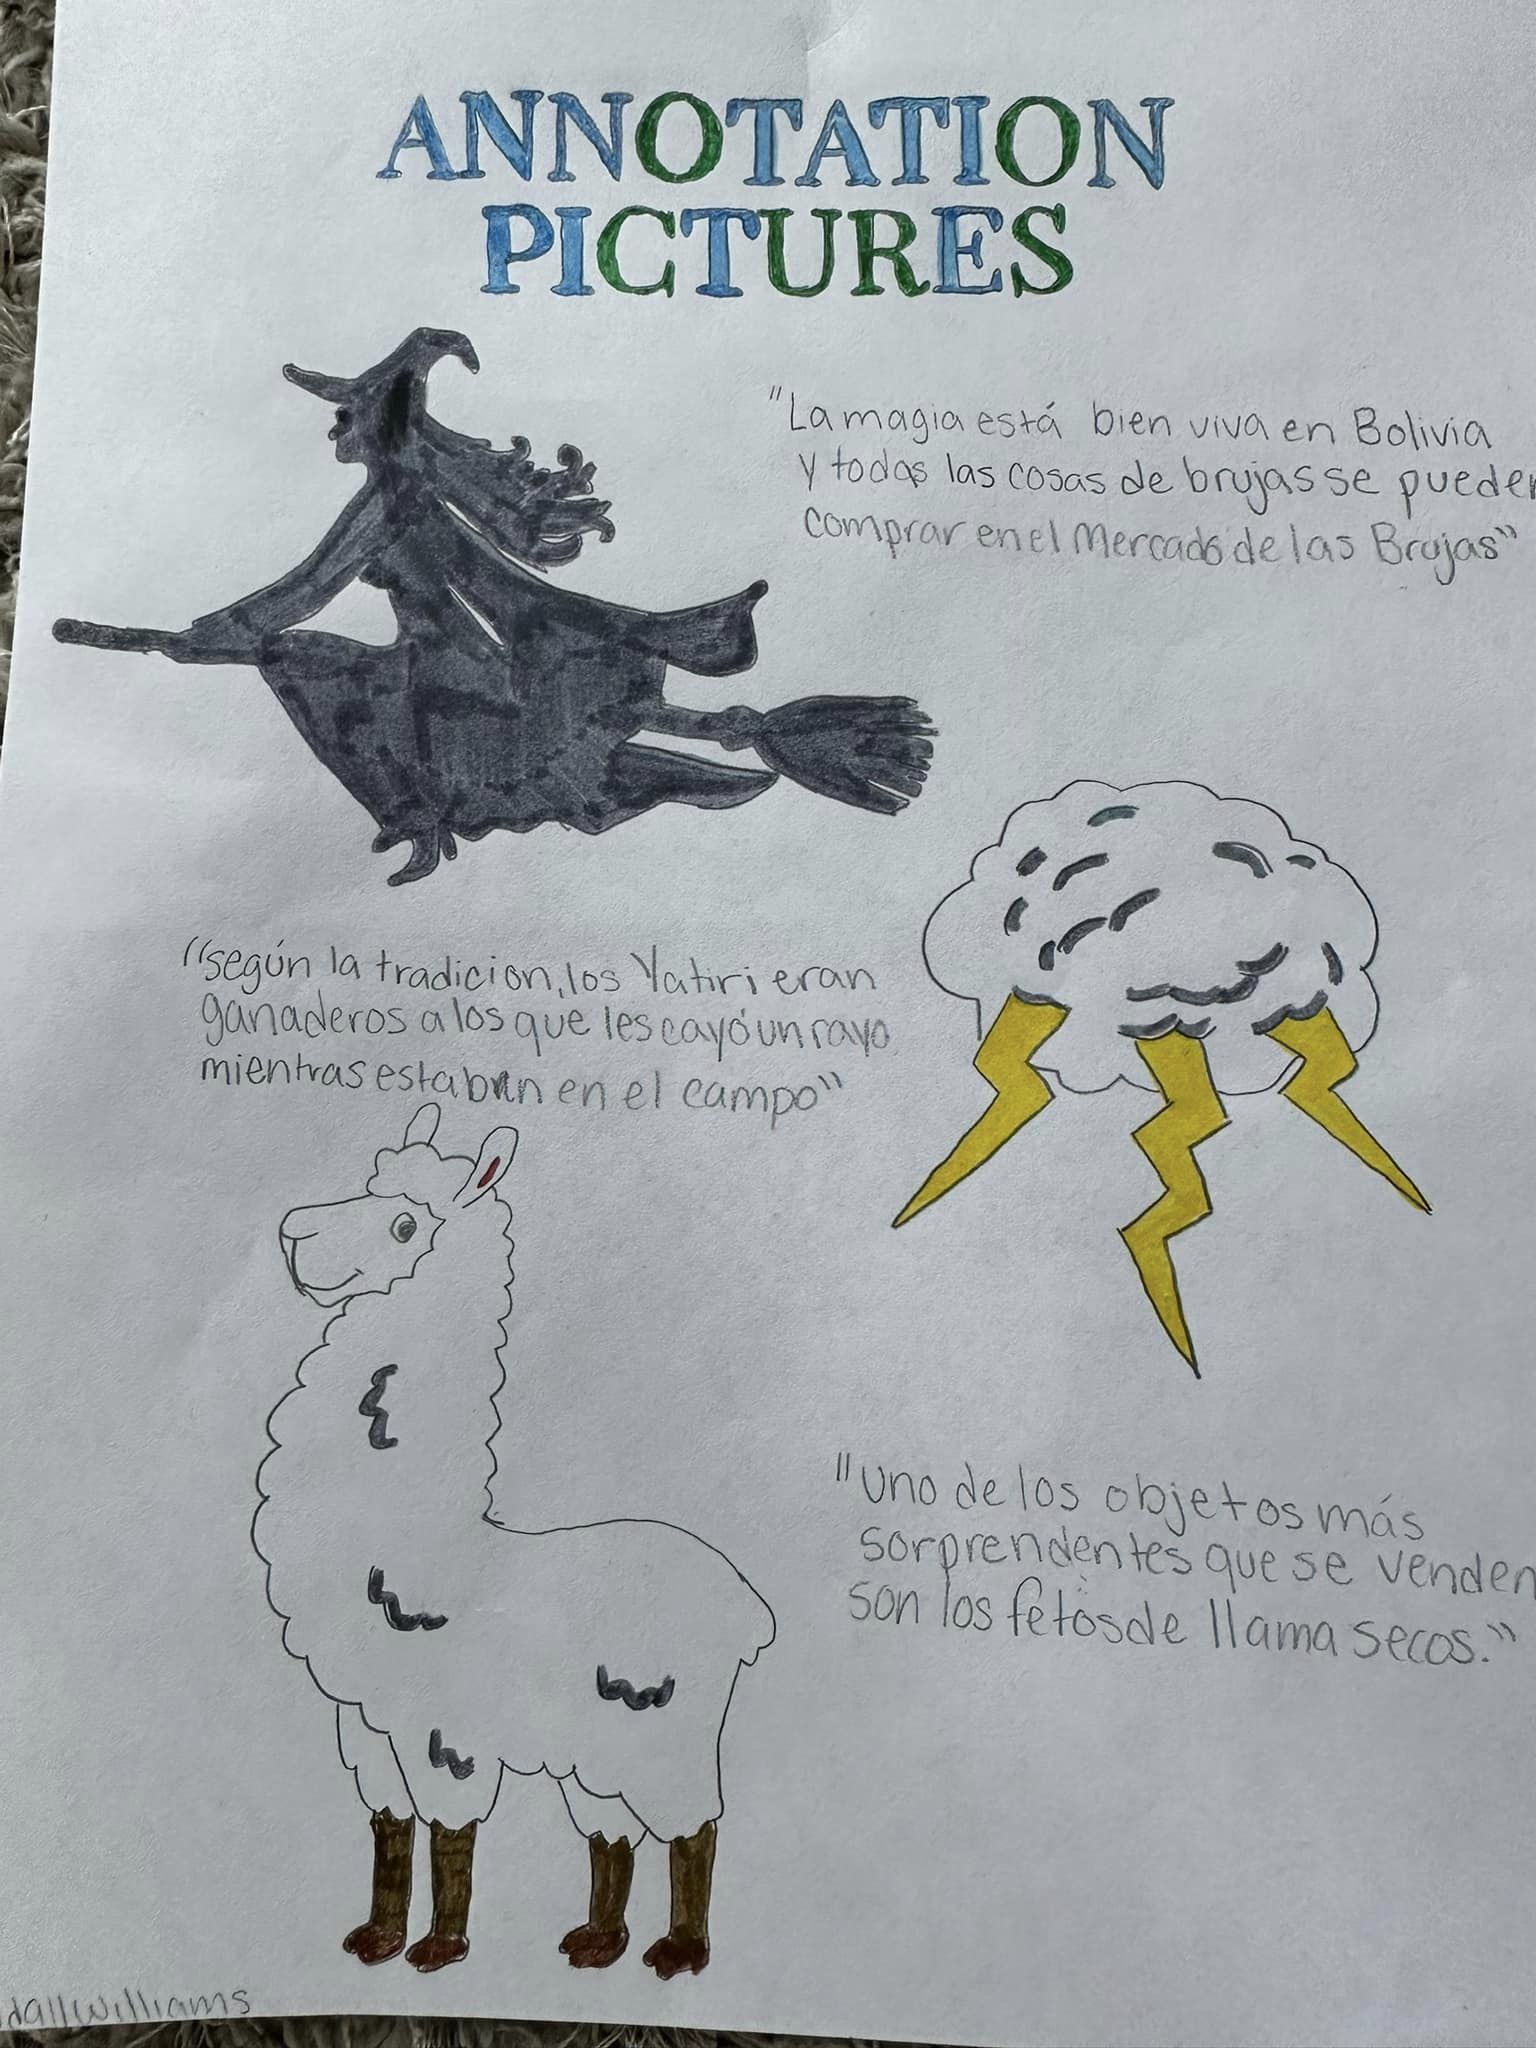
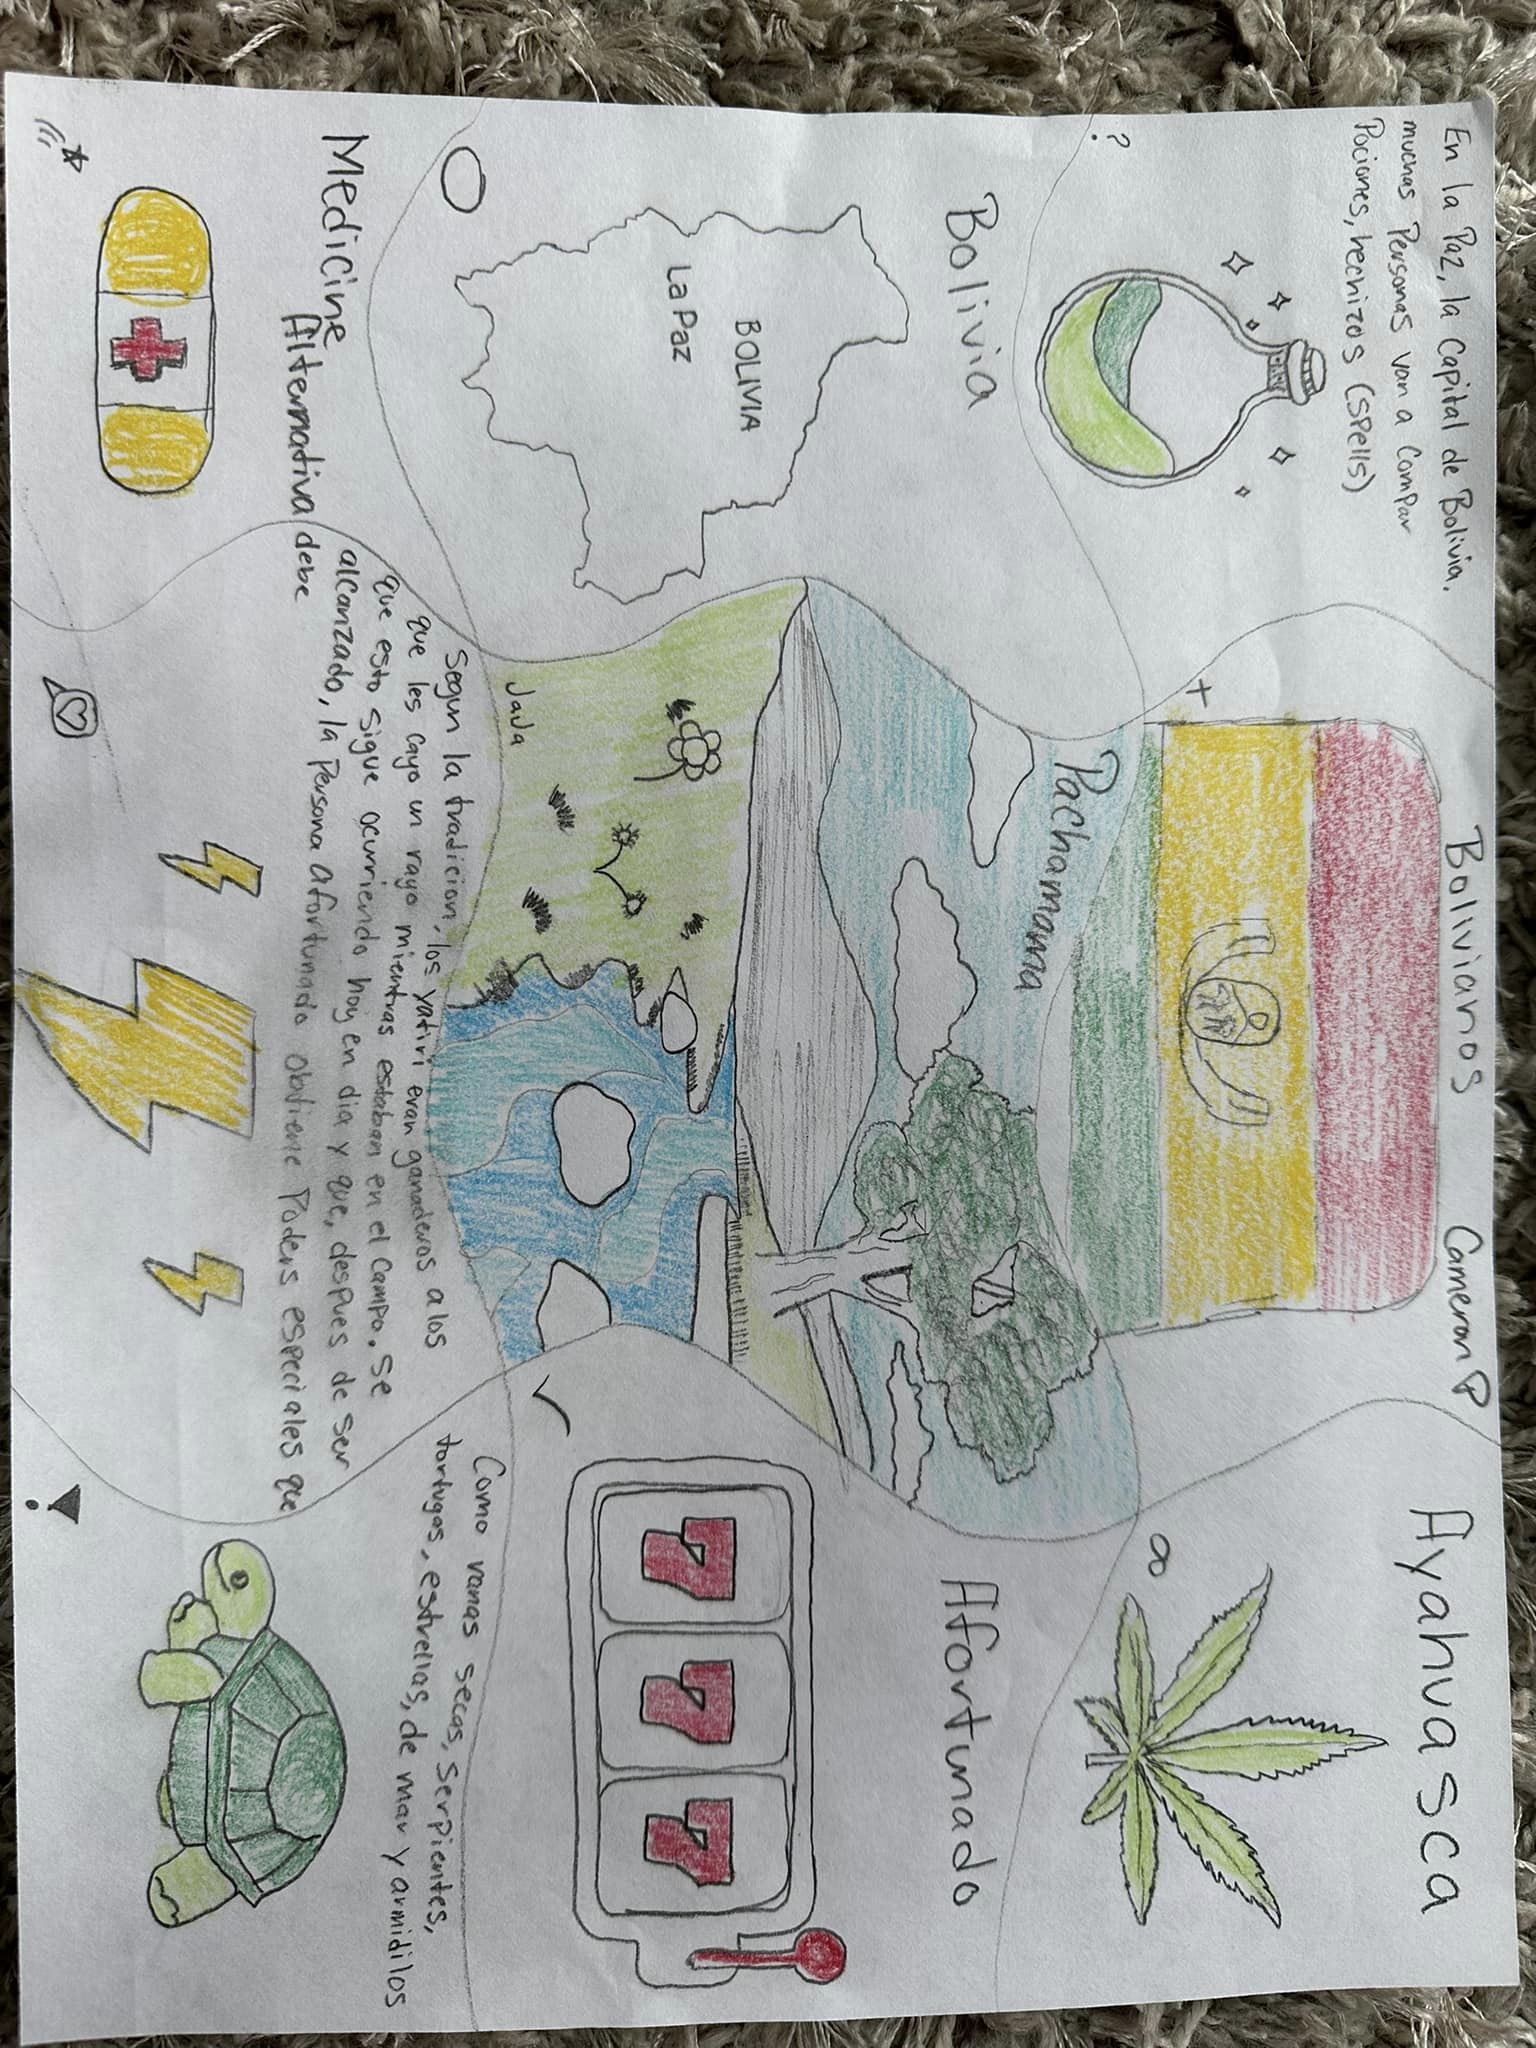
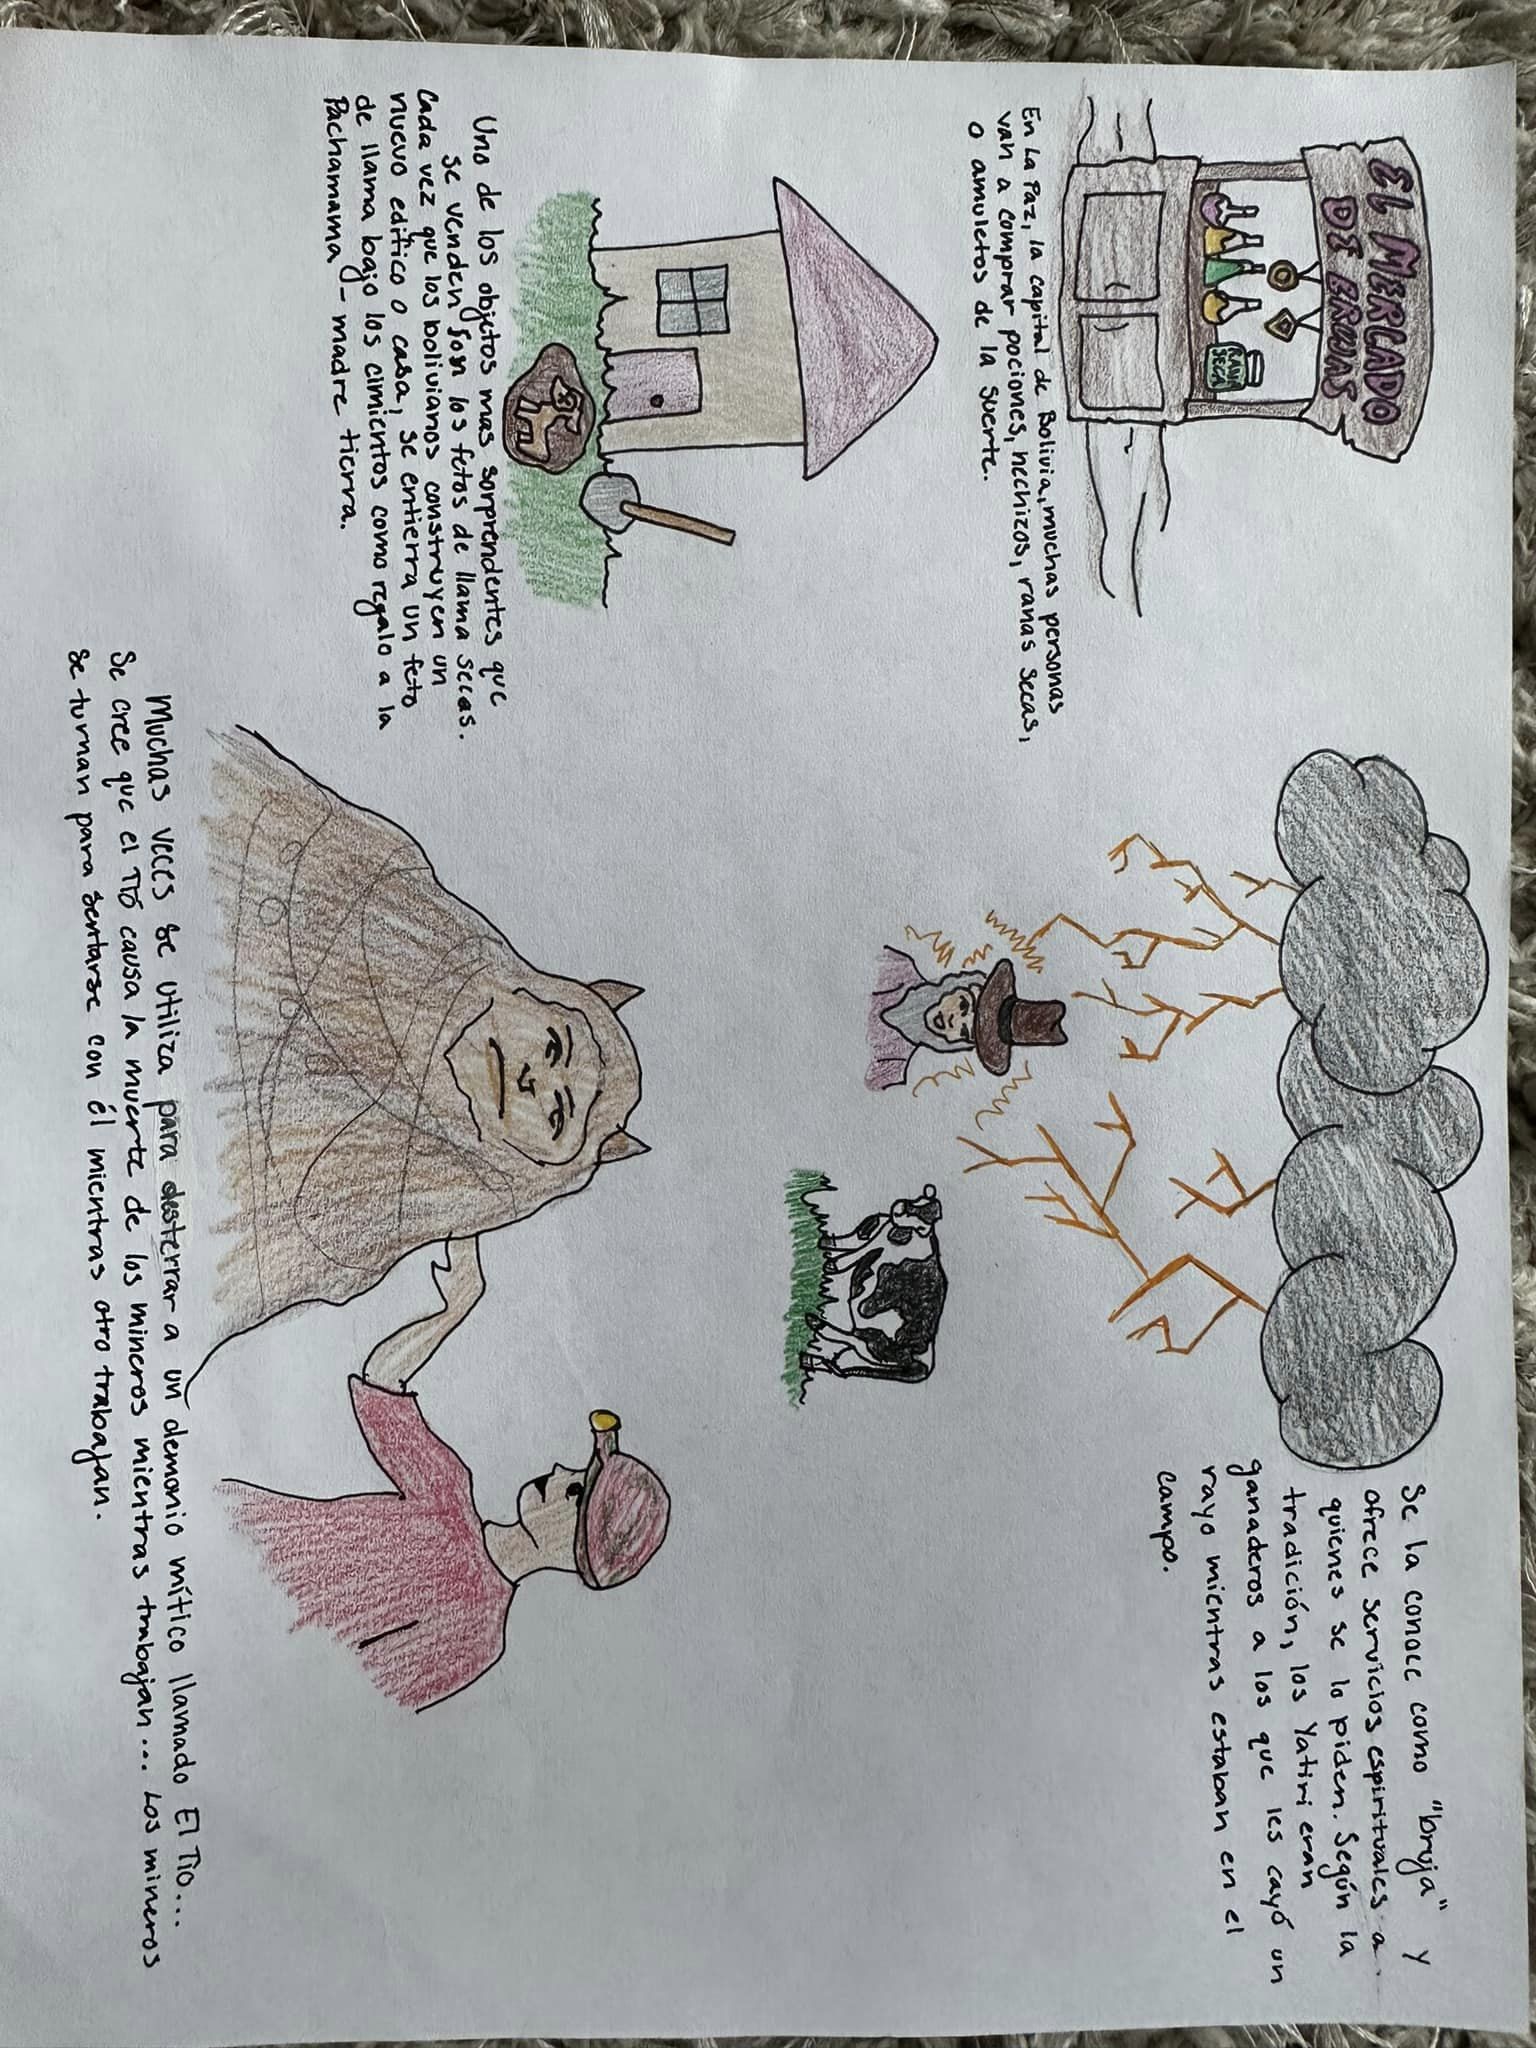
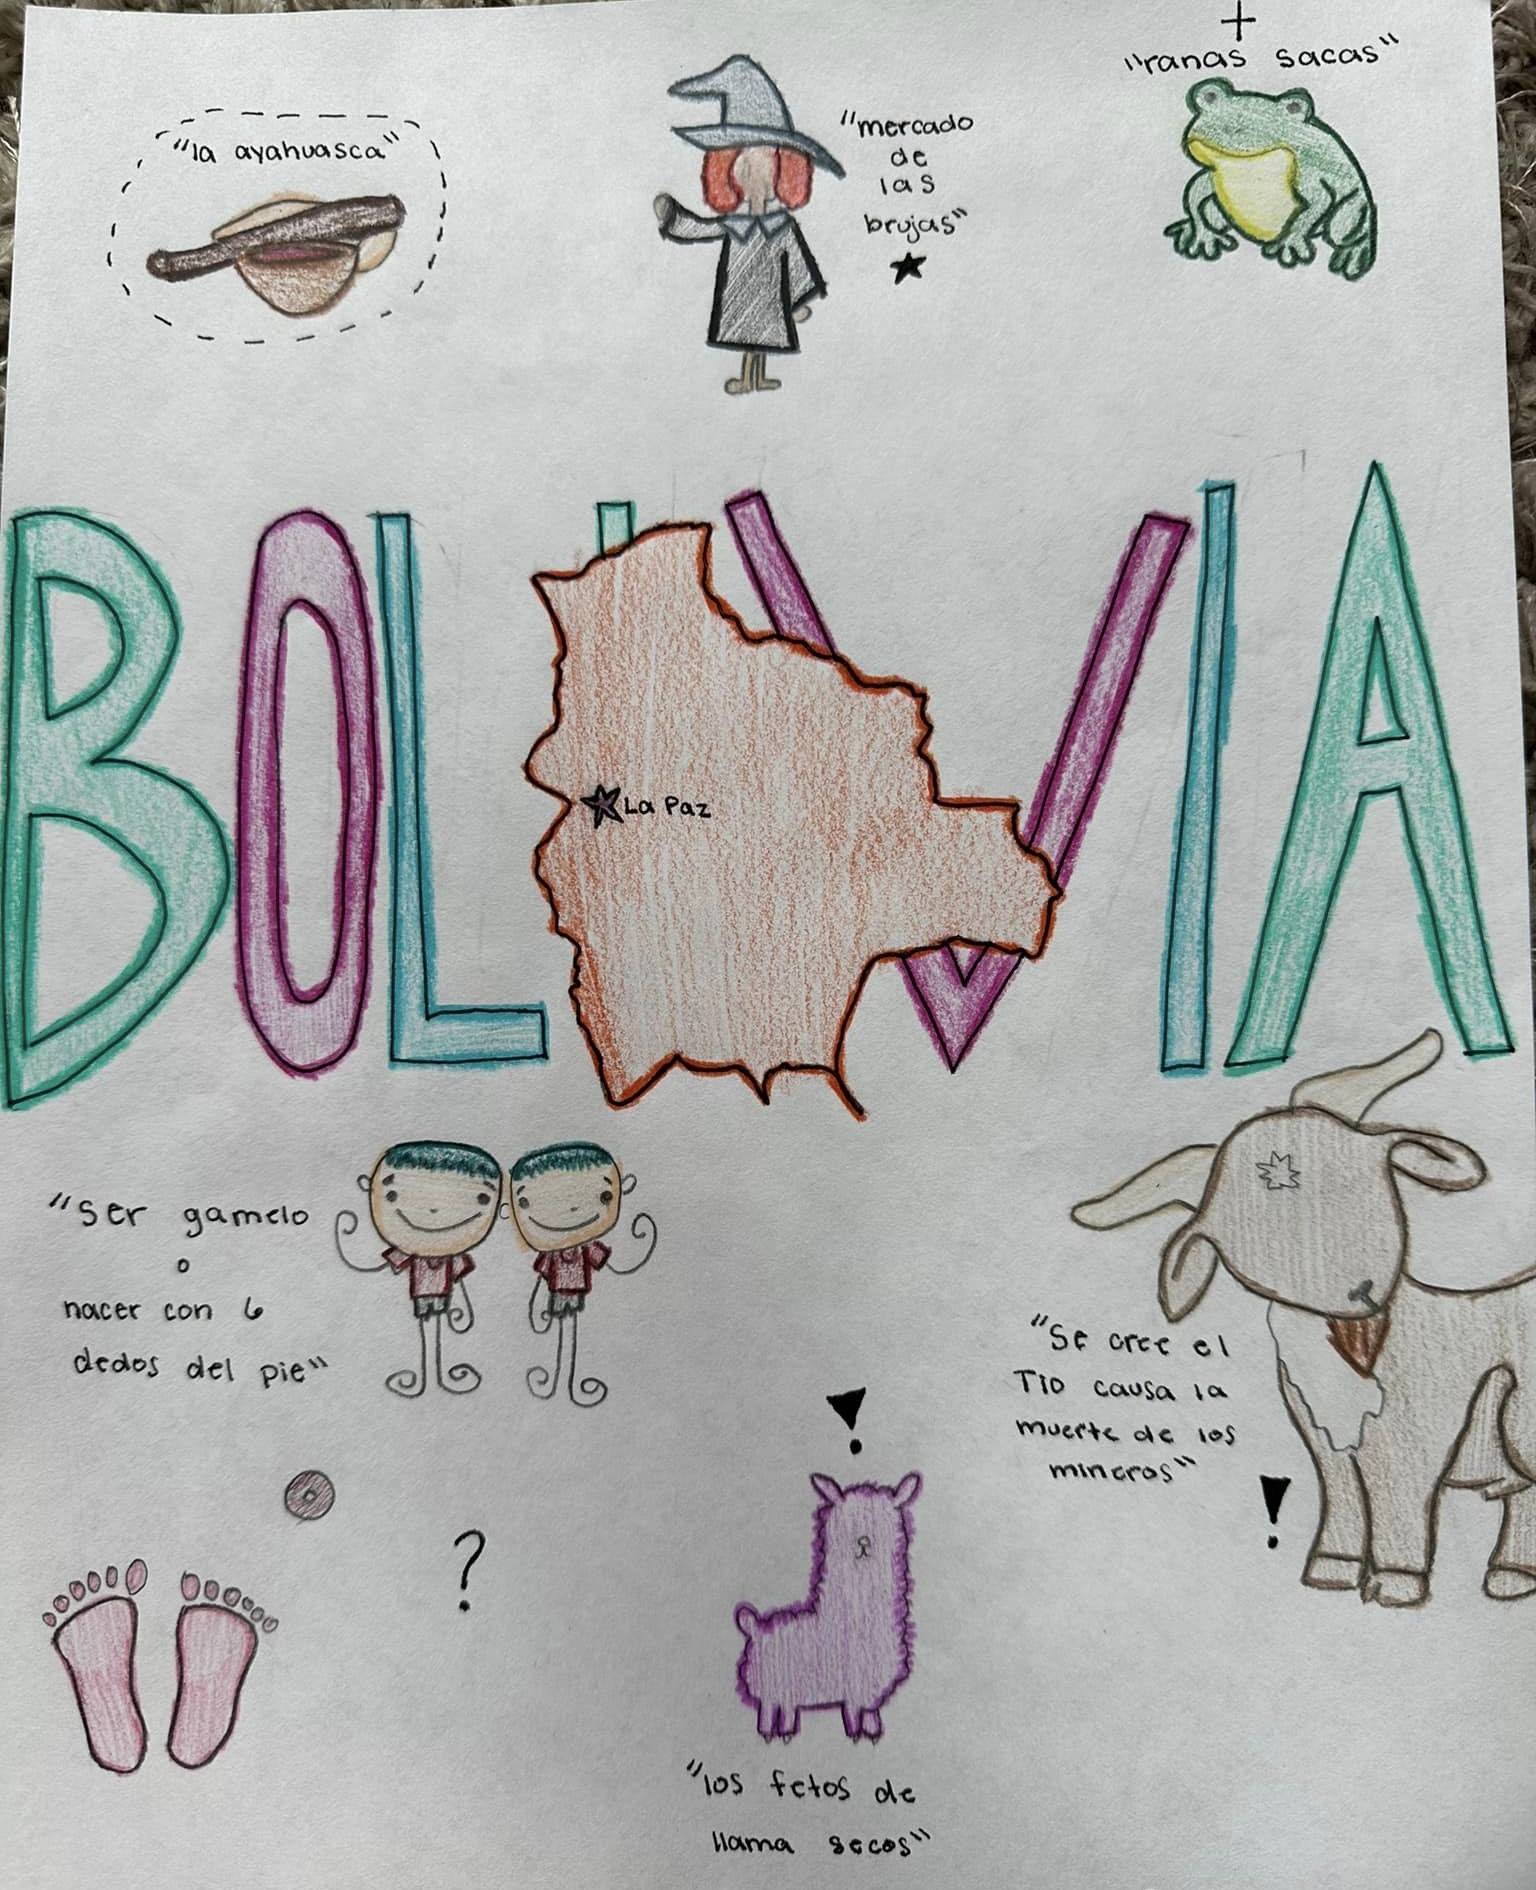
Step 5: After annotating, their next step is to pick 6-9 of their own annotations and draw them. They can draw up to 2 from each category; for instance, up to 2 from the Important Word category, and so on. Next to each drawing they must also draw the symbol of the annotation.
Step 6: After drawing their annotations, the students must then cut out, or write, that specifically annotated text around their drawing. Senora Jota Jota had her students cut the text out, but the majority of my kids wanted to handwrite it. Saved me glue/tape!
Step 7: Tape them up around your room and get that extra point when your Admin evaluates you! jaja
This activity was done over the Spanish 2 unit on the Witch Market's in Bolivia. Click here to view the unit in TPT.


Stay connected with news and updates!
Join our mailing list to receive the latest news and updates from our team.
Don't worry, your information will not be shared.
We hate SPAM. We will never sell your information, for any reason.
